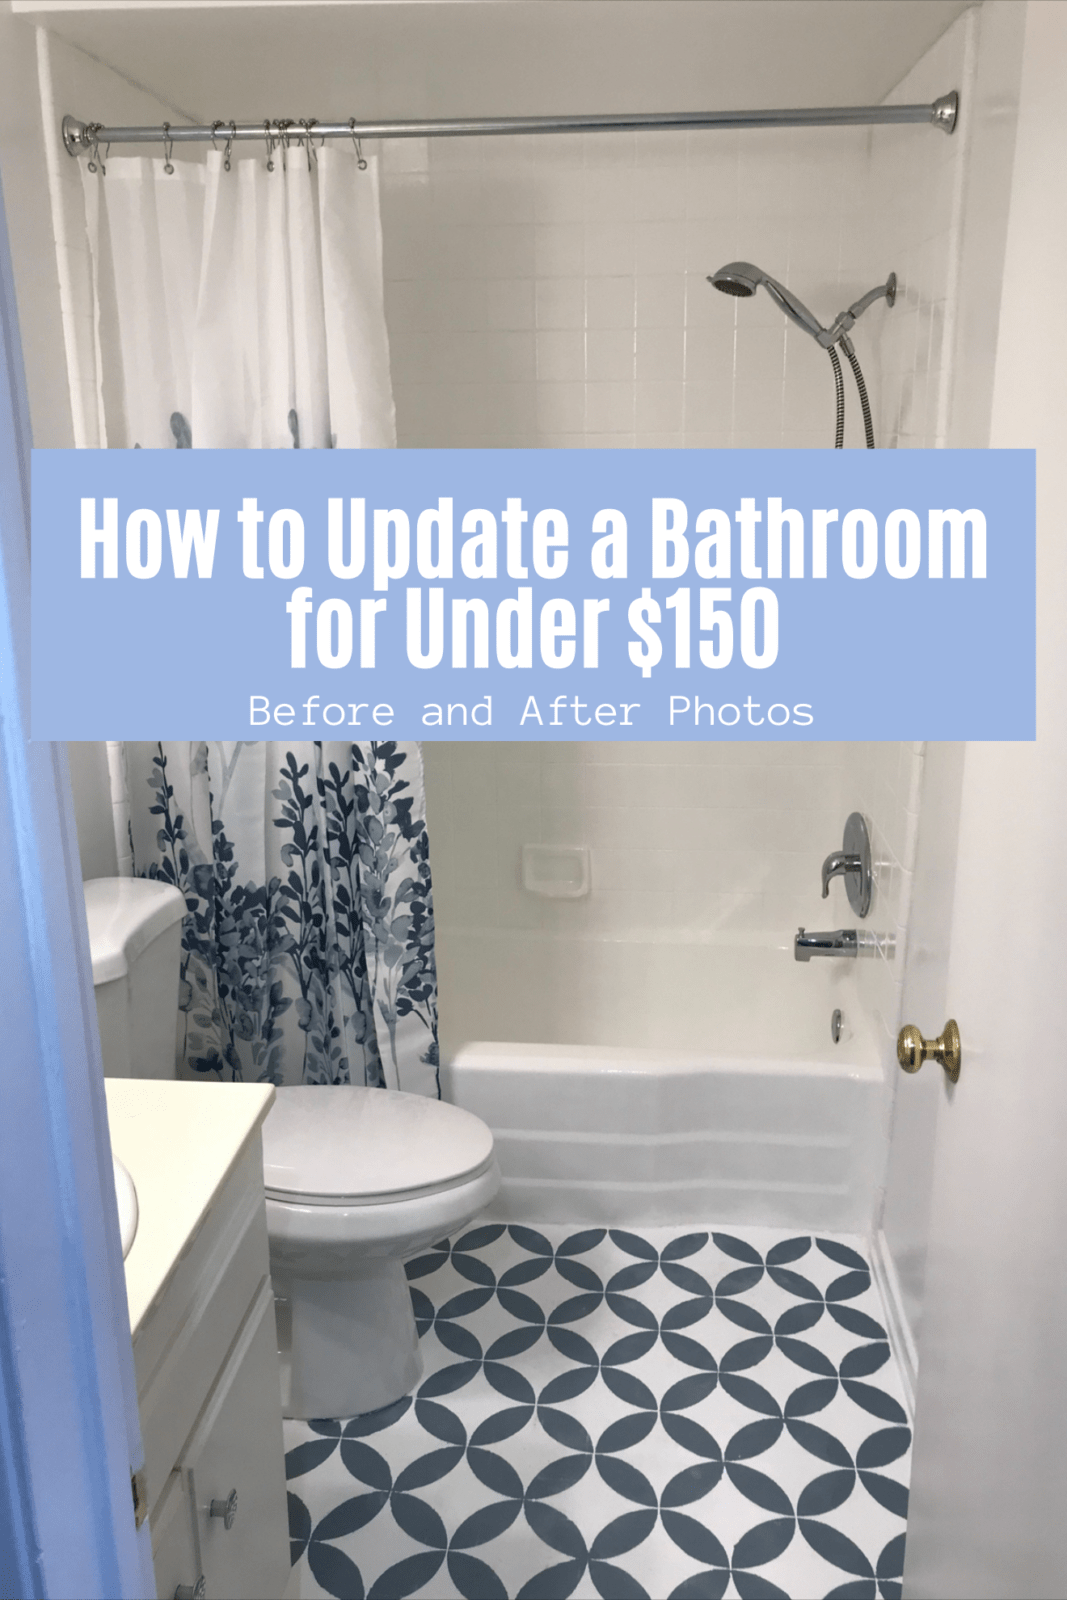
How to Update A Bathroom for Under $150
It is about time I finally publish my step-by-step guide on how to update a bathroom for under $150. Between purchasing a new home, moving, decorating, traveling, holidays, and everything else, sharing this particular project on Laura Lily just got pushed further and further down on my to-do list. It is one of those projects that I knew I had to share because there are other people out there looking for inexpensive and budget-friendly ways to remodel a bathroom.
I had done a full renovation on my master bathroom years ago when I first moved into my condo. The remodel took the bathroom down to the studs and literally built it from the ground up at a cost of almost $8,000. However, because I was short on time and did not want to spend thousands of dollars renovating another bathroom, I decided to research how best to update it on a budget. The answer… time, paint, and a bit of new hardware.
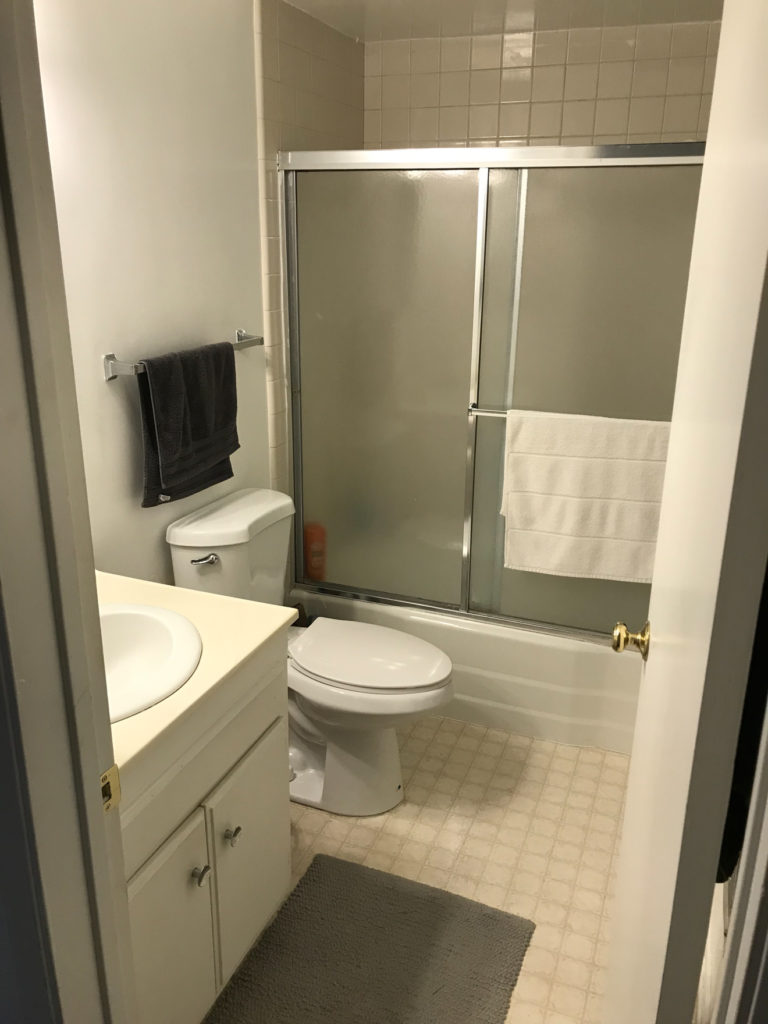
Before photo of the bathroom. Notice the bulky, outdated shower door that makes the entire space feel smaller.
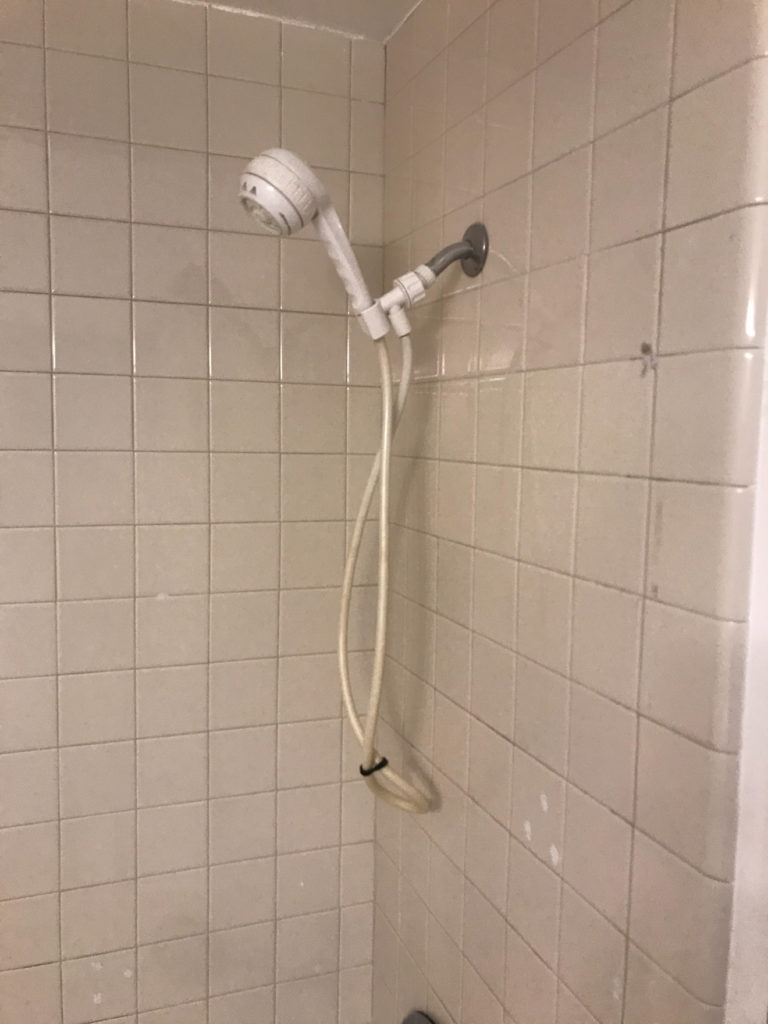
A close-up look of the tile before being sanded and painted.

The first layer of epoxy paint going on. (Tile has been lightly sanded to remove gloss/waterproof sheen.
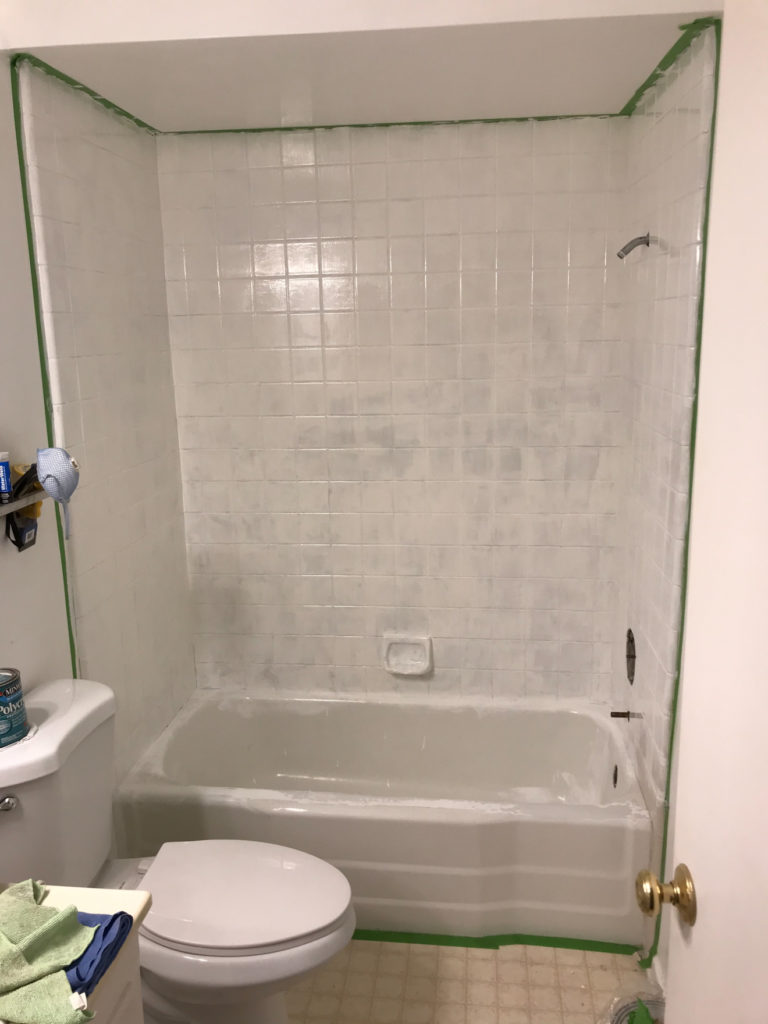
The first layer of epoxy paint on the tile wall complete.
The second layer of the epoxy paint on both the shower wall and tub complete.
Update with Paint
A fresh coat of paint can work wonders in an older space. Preparation is key for getting the best paint coverage possible so the more meticulous you are with taping areas you do not want to paint on, the better the outcome will be. In places that see a lot of traffic and/or moisture like kitchens and bathrooms, it is recommended to use a semi-gloss or a satin sheen. Paints with sheen (such as satin and eggshell) are much easier to clean than a matte sheen.

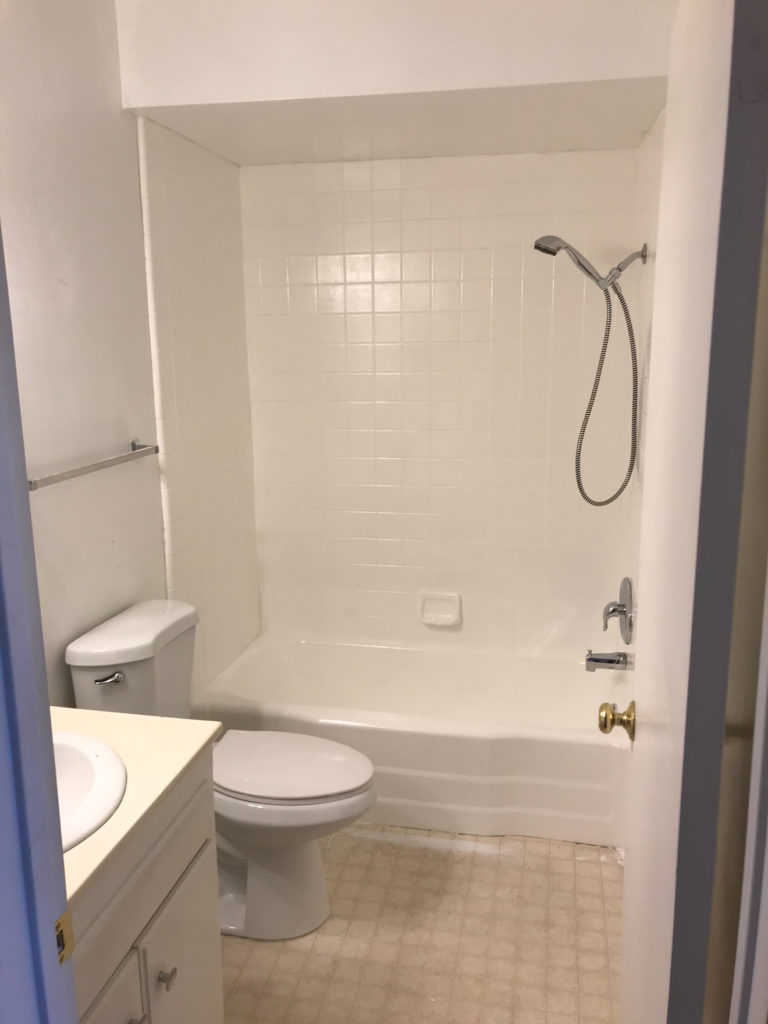
Newly installed shower fixtures in all matching silver chrome.
Update Fixtures
I had purchased a new shower faucet a few years prior hence why that was not factored into the latest renovation that cost me under $100. TIP: It is important to pick coordinating types and colors of metals when replacing bathroom fixtures. For example, the color for this particular bathroom is all nickel. The metal color in my master bathroom and kitchen is brushed nickel. I prefer brushed metals because they are less likely to show water spots making them appear cleaner on a daily basis. I only spent $30 to replace the showerhead and that was factored into the cost of this bathroom upgrade.

Materials used for How to Update A Bathroom for Under $150
• Paint $24 – One can of semi-gloss Behr paint in the shade Polar Bear for the walls.
• Paint Brushes (one $6 Wooster brush from Home Depot and the others from Dollar Tree to use with the fast-drying epoxy paint.
• Paint tray $2
• Paint roller $4
• Tape $4 (Green Frog Tape works best)
• Epoxy Acrylic Paint $23 x 2 – I purchased the Rust-Oleum 7860519 Tub And Tile Refinishing 2-Part Kit, in white from Amazon.(Home Depot also has epoxy paint. However, it is $36 a box.)
• $4 J-B Weld 8277 WaterWeld Epoxy Putty Stick to patch holes from shower door and chips in tub
• Stencils $18 Nagoya Tile Stencil from Cutting Edge Stencils (I used the stencil size 16-inch size)
• Showerhead $30 (Home Depot)
• Shower curtain
• Shower curtain rod
Additional Tools Needed (Not included in the total cost.)
- Screwdriver (to remove shower door)
- Sander
- Sanding paper
Remove an Old Shower Door:
Another change made to this bathroom that made a huge difference was taking out the old shower door. It had really closed off the space and felt outdated. The shower door was not too difficult to take off, however, it did require some extra sanding, filing, and filling holes to make the surfaces where the door was smooth again before painting. I used this epoxy from Amazon to fill these holes from the screws in the tile and markings on the tub ledge from the door.
Sanding:
Sanding the tube and floor was the most time-consuming task. The purpose of sanding the tub is to file down the porcelain seal to allow the epoxy glue to penetrate the surface beneath so it has something to stick to. Think about it like nail polish. If you want the best application, you have to apply it before putting the topcoat on. I used a small Black and Decker 5 Inch orbital sander I have had for years. It’s easy to use and you can order a variety of sanding disks for a variety of different sanding jobs.
Painting with Epoxy – Things You Should Know:
Once the tube and tile were filed down it was a matter of getting an even paint application. The epoxy glue can get tacky very quickly and take several coats. I purchased paintbrushes from the Dollar Store for $1 each to cut costs and worked just fine.
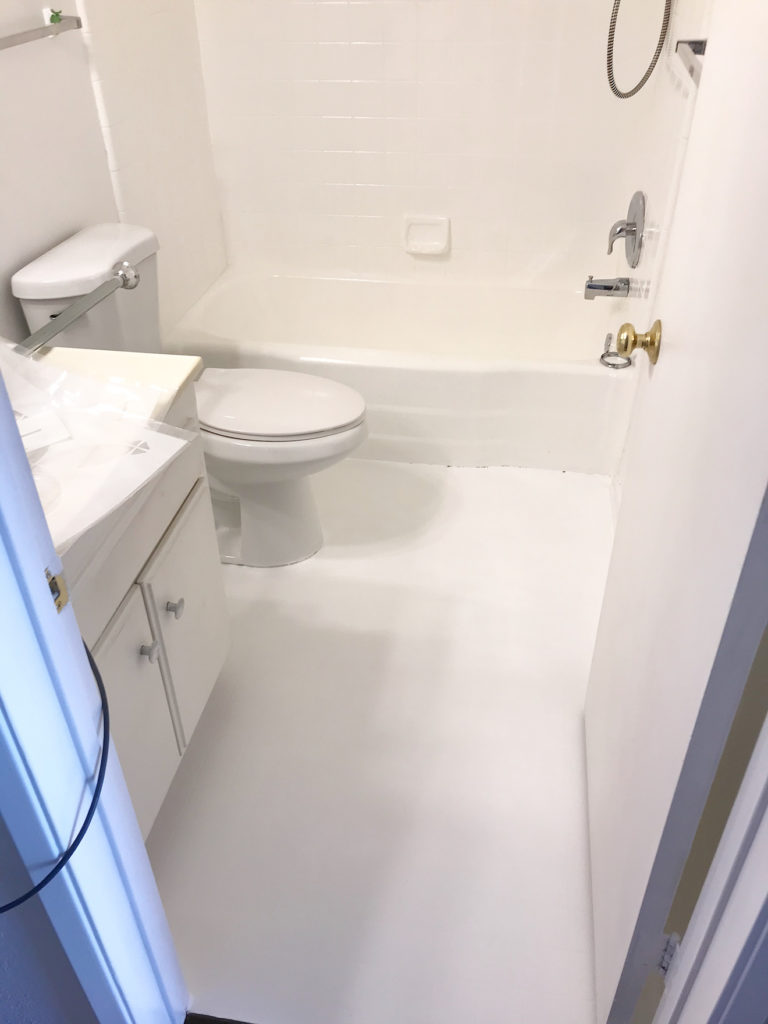
The second layer of paint primer on the floor.

Updating the Floor:
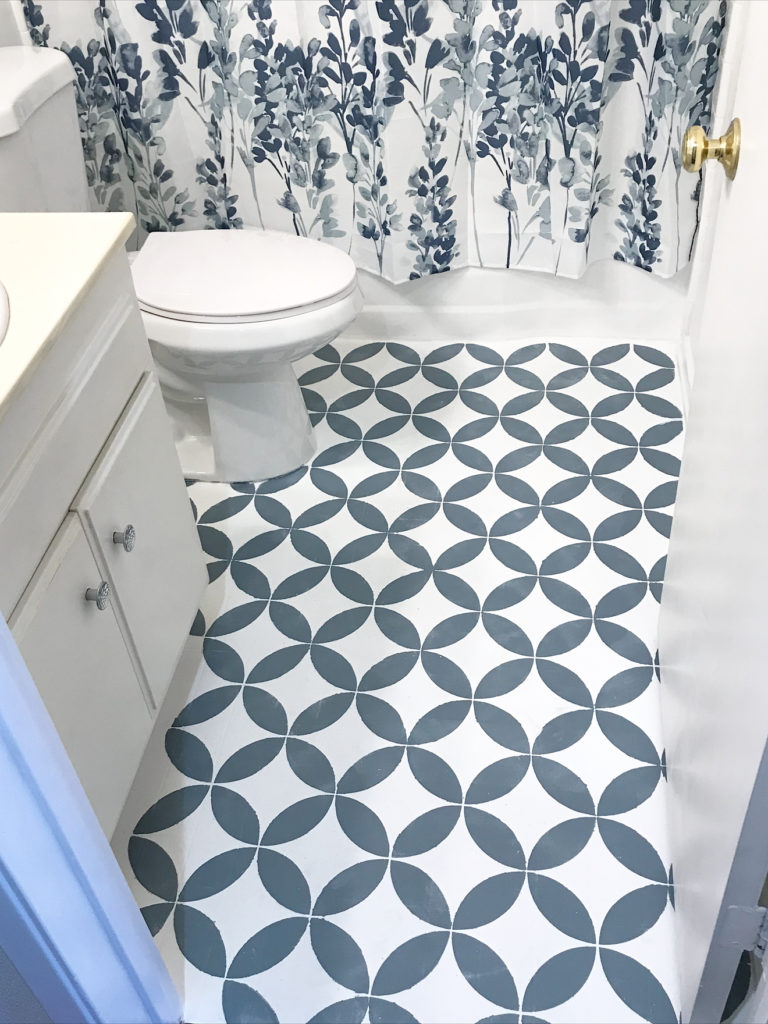
The last area of this bathroom to get an update was the bathroom floor. This project was my favorite part because it meant I got to be creative and really made such an amazing difference to this small bathroom! Again, it was a matter of filing off the top clear layer of linoleum. Then applying a primer, two coats of base layer paint, stenciling, then sealing with a protective clear sealant.
Pros and Cons to updating your bathroom yourself on a budget:
PROS:
-cuts cost and saves you money!
-you can get creative, design your own bathroom with different fixture and stencil options
-you can update at your own pace considering you don’t need to use this bathroom every day
CONS:
-takes time and patience. This entire project took one week between dry times.
-there can be moments of frustration when working with epoxy paint that gets sticky and dries rather quickly
-not everyone enjoys painting
-stenciling is not always as easy as it looks!
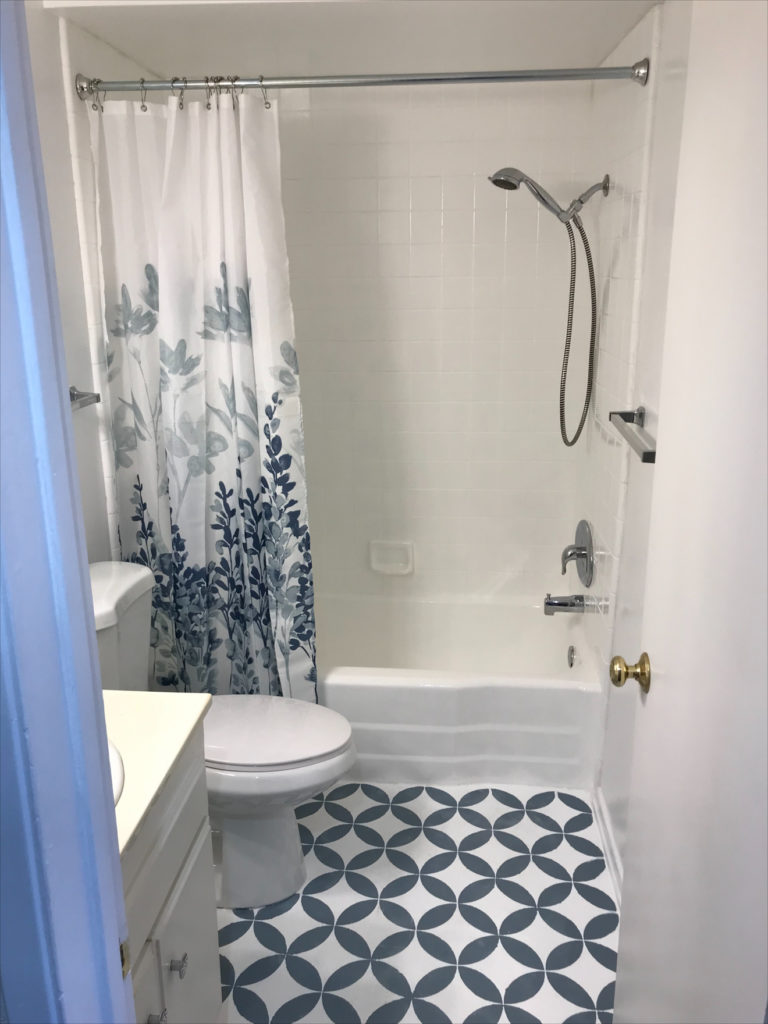
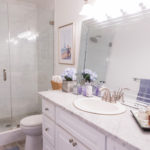
The finished product.
Now I realize it’s not possible to update a bathroom like this when you are renting. So here are some other easy and inexpensive ways to update your bathroom:
• Add plants (faux or real)
• Add fun towels
• Update hardware on bathroom cabinets
• Get a new shower curtain
• Add artwork
• Apply stick on tile. I almost used this one from Amazon.
• Add a fun rug
• Color coordinate towels and rugs and shower curtain
• Place towels in baskets

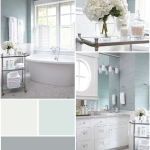
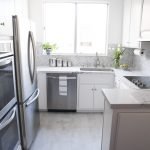
Make sure to check out my modern master bathroom and kitchen remodel reveal for more home upgrades. I’ve also shared my bathroom remodel inspiration board for more ideas!
As always, thank you for stopping by. Please leave a comment if you have any questions!
Xoxo,
Laura

