

Every year for the last 6 years, Brian and I have made a holiday ornament to give to our family and friends. We feel it’s a much more personal gift than anything we could buy. It has become a tradition for us to spend a night in, drinking wine, watching holiday films and getting crafty.
This year, we decided to make a mini bell wreath ornament. We found all of our supplies at Michael’s Craft Store. There were a variety of bell colors, but we decided to stick with Christmas colors. Because we had to make so many, we bought out the entire stock of colored bells at our local craft store.
Check out the step-by-step instructions below for how to make your very own DIY Holiday Ornament.
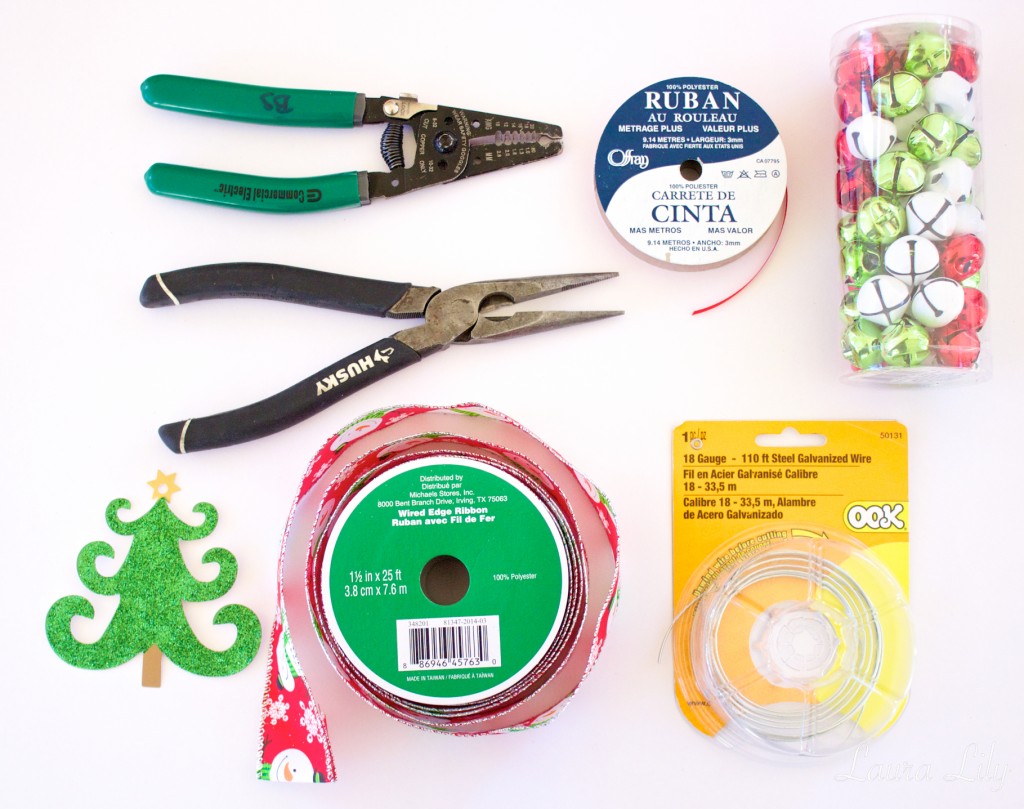
What you’ll need:
Bells: any color or size will do.
Wire– strong enough to hold the bells and thin enough to string bells along. We used 18 Gauge steel galvanized wire.
Thick Ribbon for bow- I recumbent ribbon with a bit of wire in it. This will hold its shape a bit better.
Thin ribbon to hang the ornament
Wire cutters and pliers
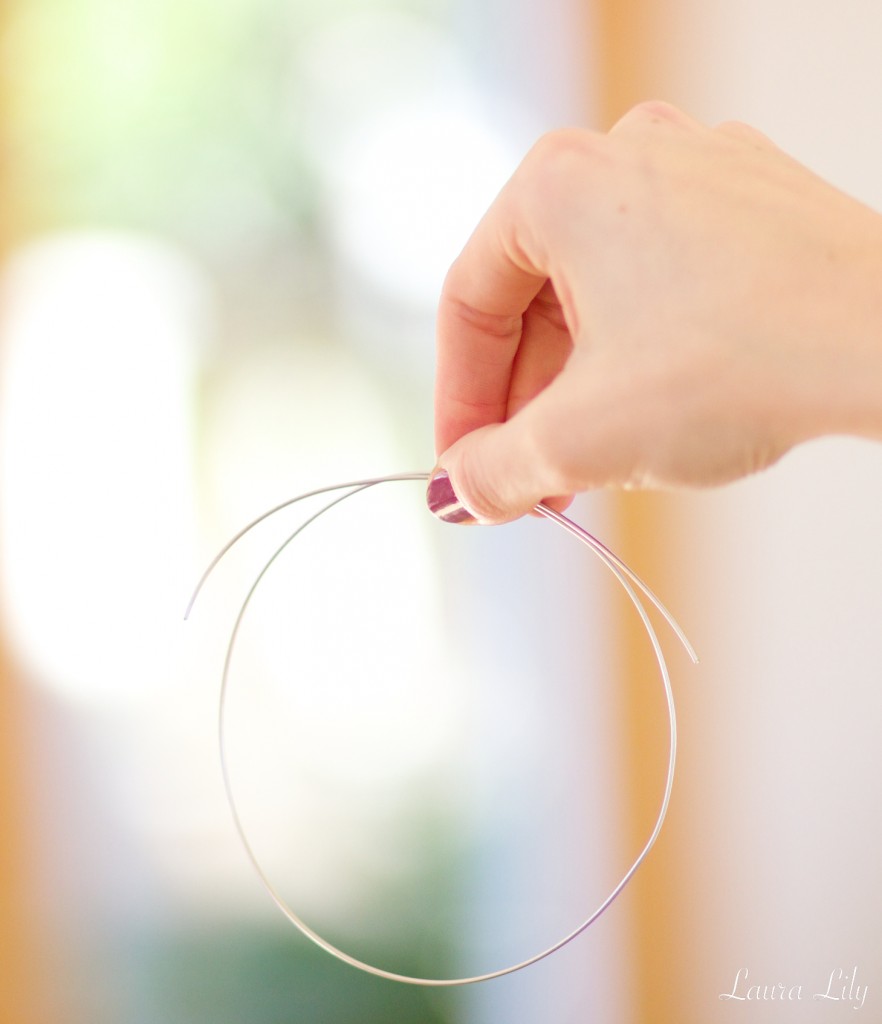
Step 1: Cut your wire to the desired size of the wreath. Leave extra wire. You can wrap the wire around a round base to get the perfect round shape.
Step 2: Begin adding bells to the wire. 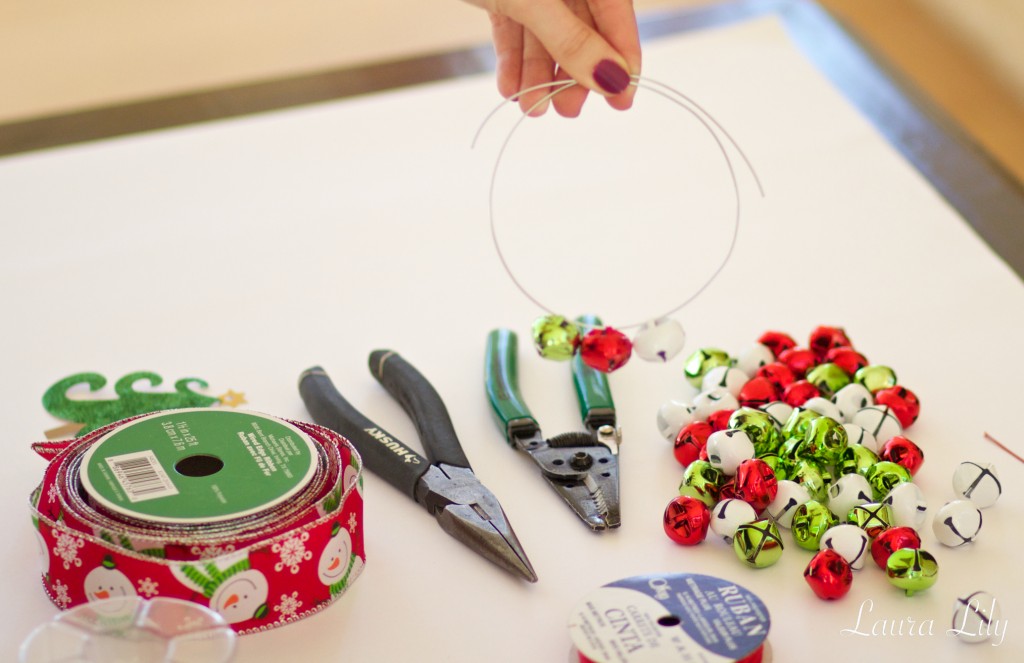
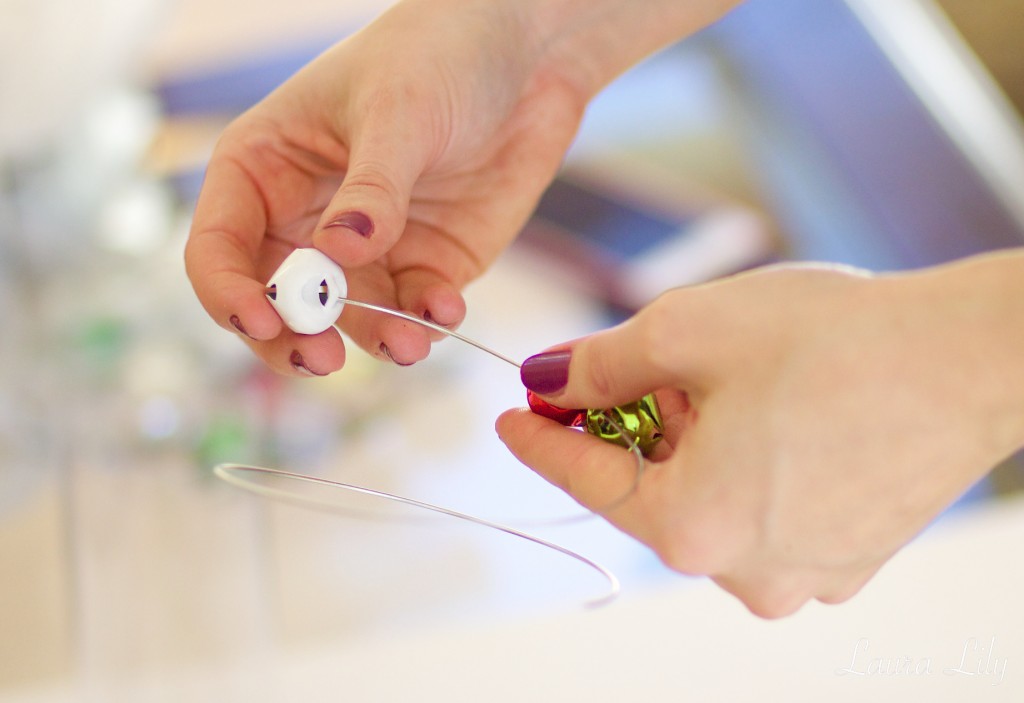 Step 3: Continue adding bells until you have filled up the wire. I decided to do a pattern of red, green, white bells.
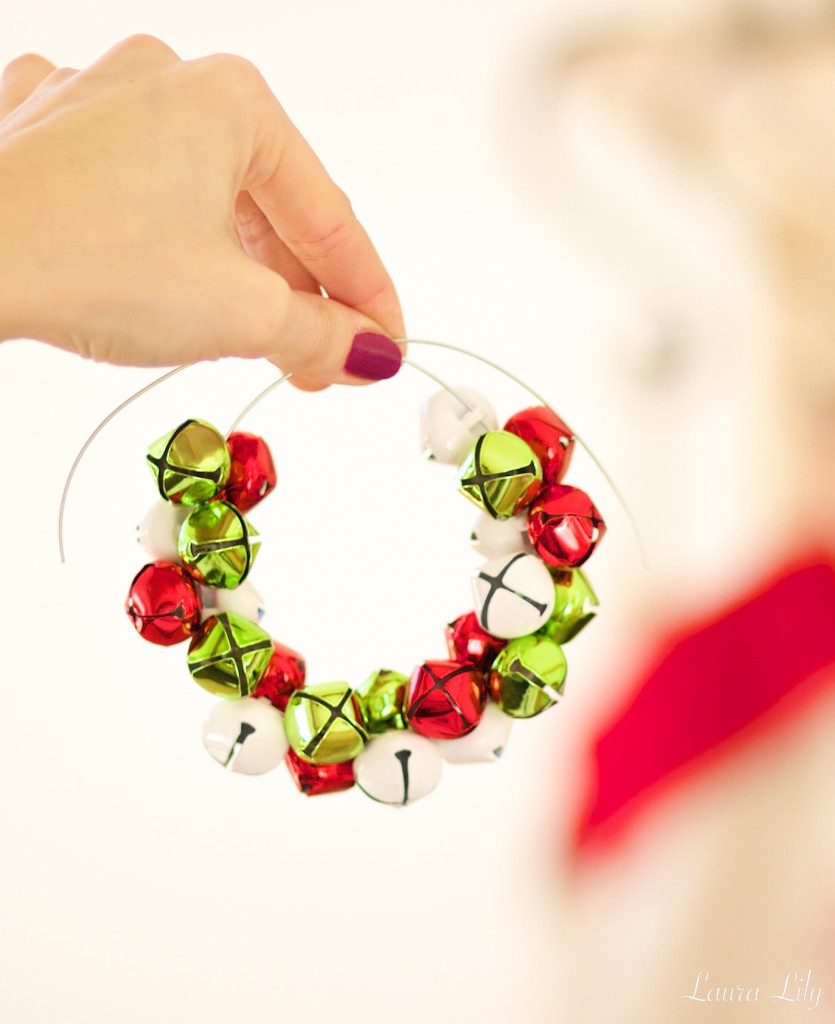
Step 4: Twist the ends of the remaining wire around each other. This is easily done with pilers. 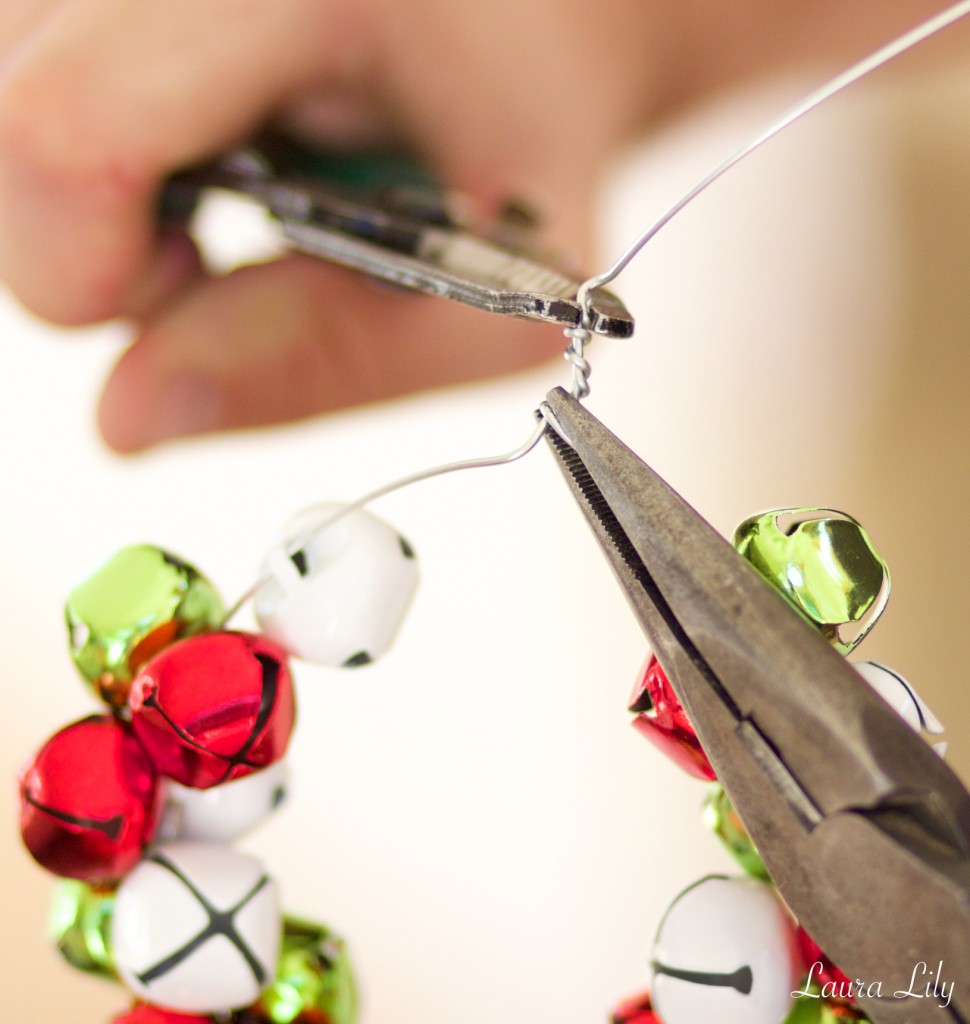
Step 5: After the wire ends have been twistest around each other. Cut the extra length of the wire and use the pliers to bend down the twisted ends. Make sure there are not sharp edges on the wire. 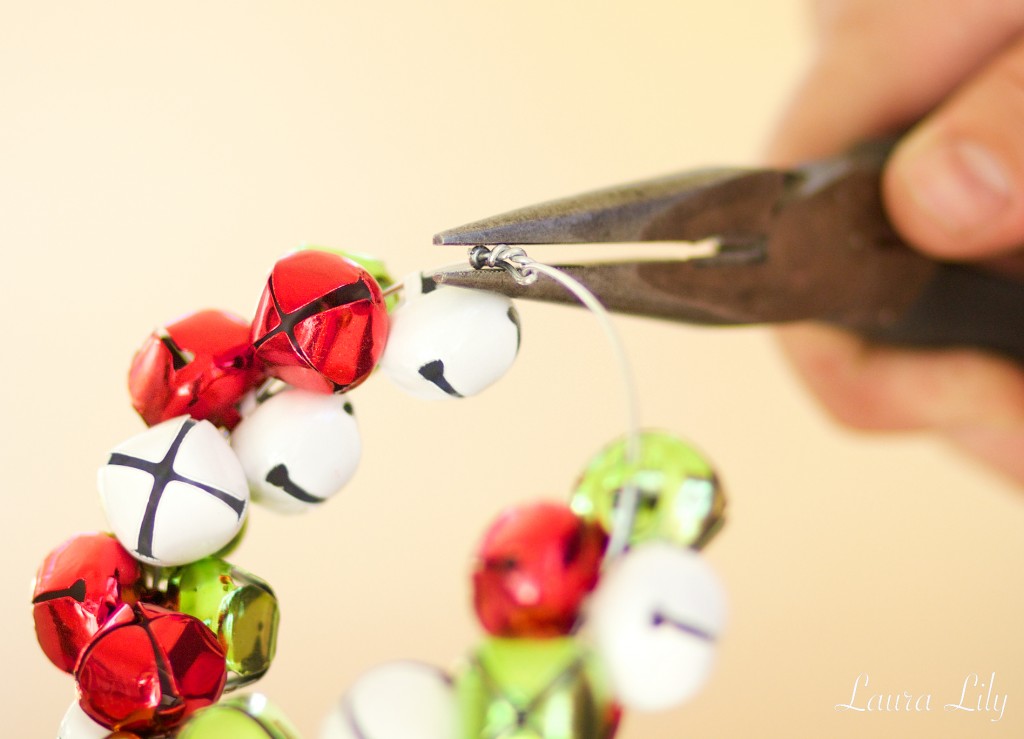
Step 6: Use the small ribbon to tie a loop around the base. This ribbon will be used to hang up the ornament. 
Step 7: Conceal the twisted wire and small ribbon with a big ribbon bow. 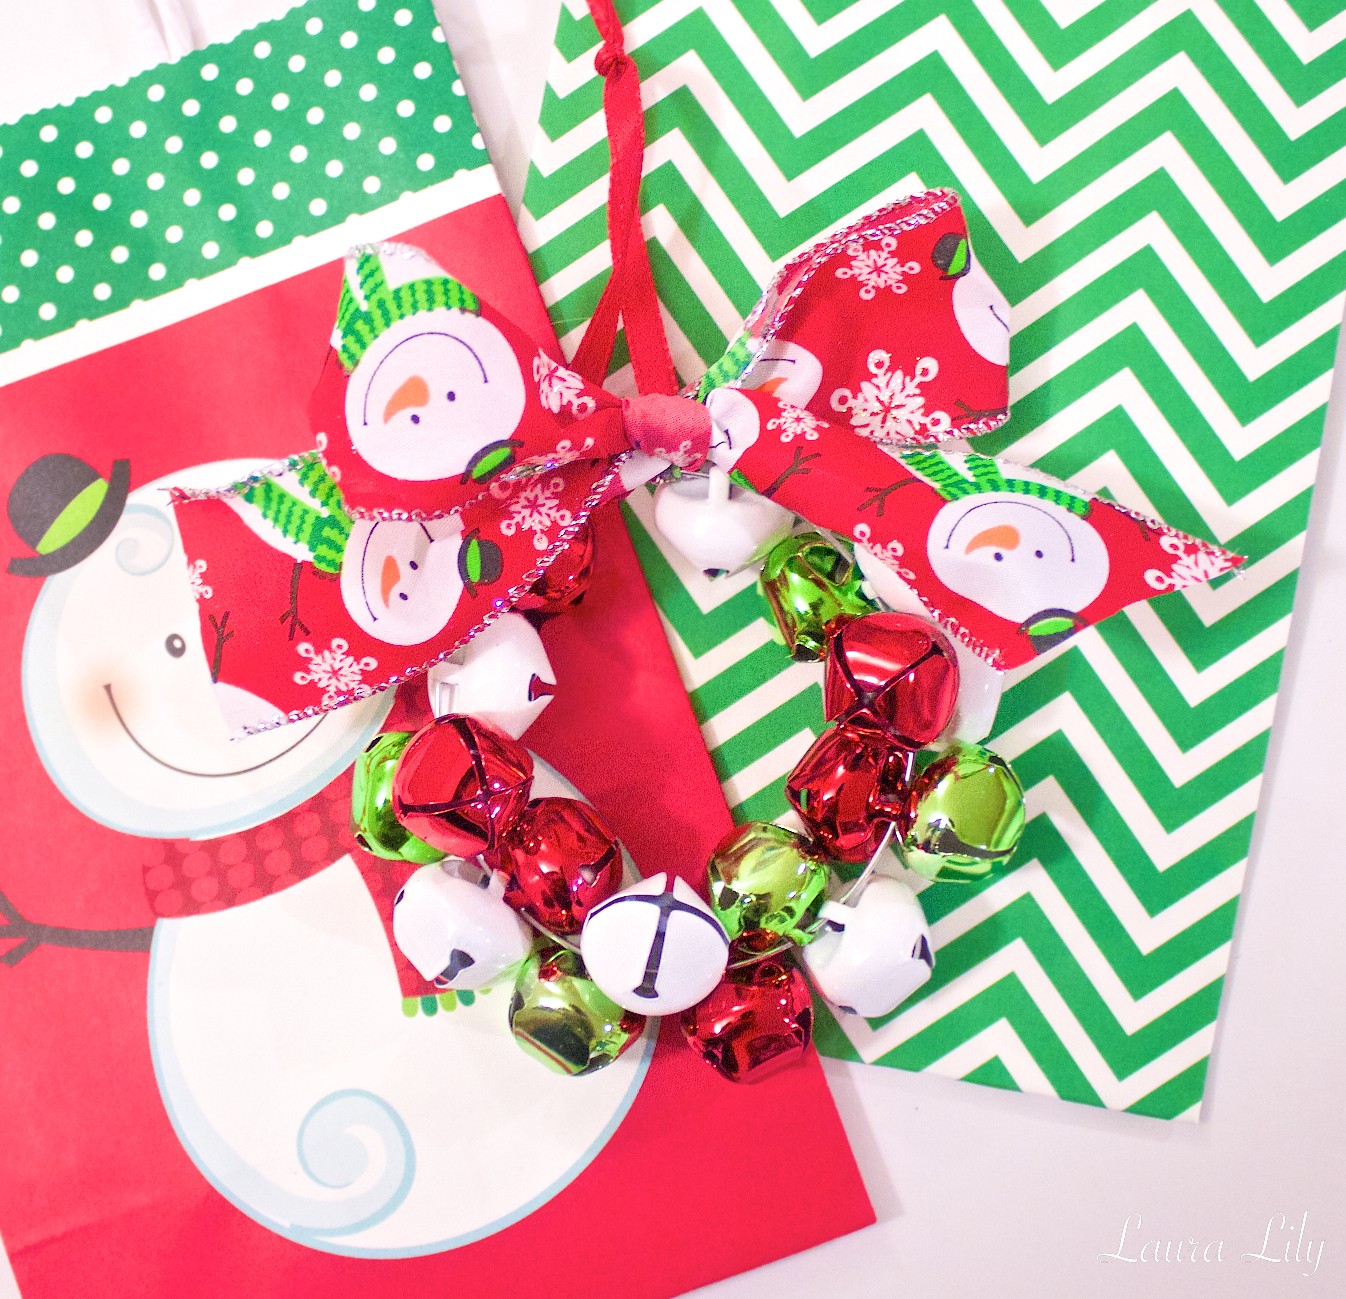
I hope you enjoyed this easy DIY ornament tutorial! Don’t miss your chance to enter the Holiday Giveaway for a box of fabulous goodies!
Check some of my other DIY Projects:
DIY Bow Pumps
DIY Derby Day Hat
DIY Beaded Emilio Pucci Clutch
Follow me on Twitter, Facebook, Instagram, Pinterest, YouTube and Bloglovin’ for more DIY projects and ideas!


