
It have been a while since I have done a DIY post. Not to worry, this one was worth waiting for! Pom Pom anything seems to be all the rage lately and I am definitely on board! I kept seeing pom-pom totes everywhere and finally decided to dive in and make my own.
This DIY is SUPER EASY. And when I say super easy, I mean a 10 year old could do it. Start by picking out your favorite colors of yarn. I went with peaches and pinks. I noticed the fuzzier yarns seems to “poof” better if you will.
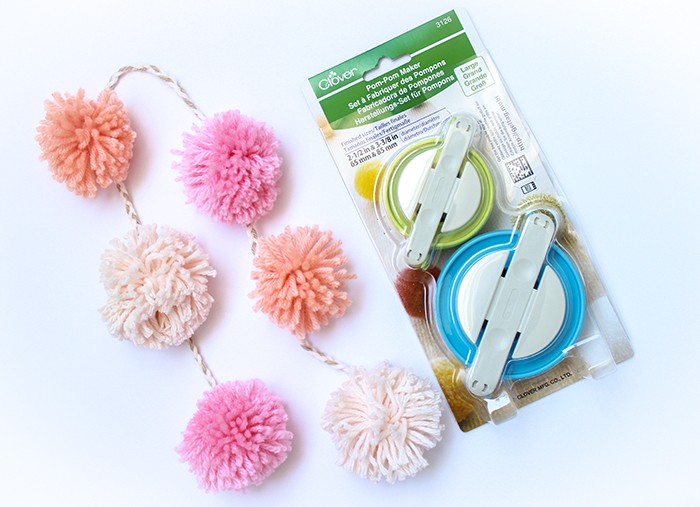
The pom-pom makers come in different sizes large/medium and small. These pom-poms were made with the medium (green) size. I bought the kit at Michael’s Craft Store and Amazon also sells them.
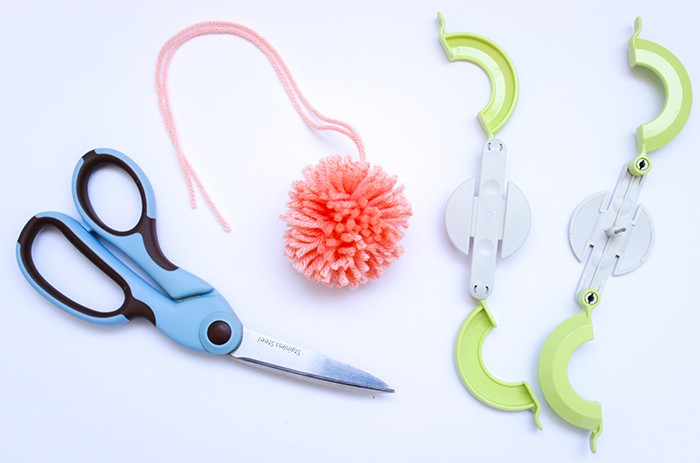
Materials:
– scissors
– yarn (various colors if you would like)
– pom-pom maker
– tote (I bought mine at Boston Proper. Similar versions here, here, and here.)

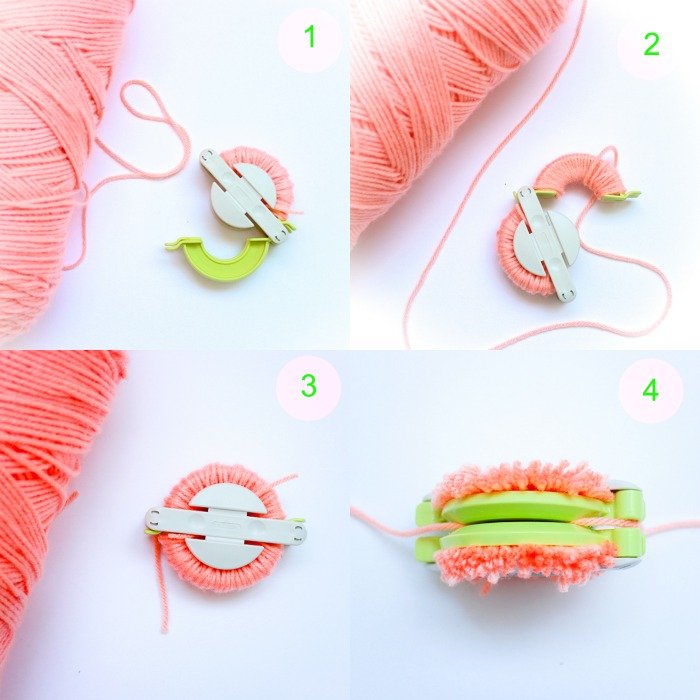
Step 1: Wind the yarn around one side moving left to right. Note: I wanted a poofier (LOL is that even a word?!) pom-pom so I actually wound it around once to the right and then went back to the left.
Step 2: Once you have wound the yarn around one side, cut the string and move to wrapping the other side. Don’t worry about the yarn hanging out.
Step 3: After the second side have yarn wrapped around, again cut the yarn.
Step 4: Once each side is wound, cut in the middle of the maker. Take a longer piece of yarn to tie around the middle. Tie it tight! The excess yarn from your knot will be used to tie the pom-pom to your tassel.
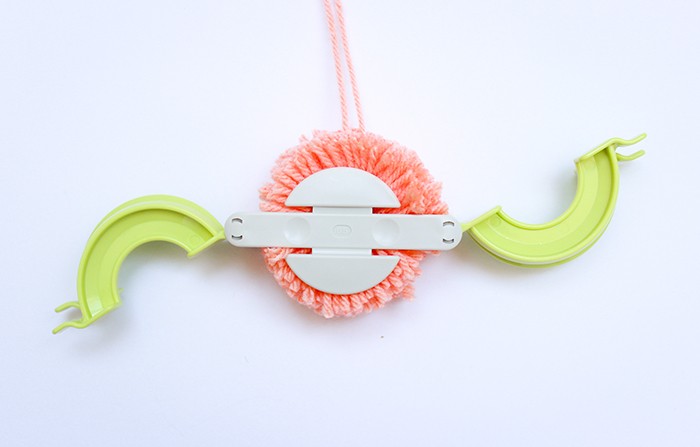
Step 5: Once tied, you can open the maker.
Step 6: Pull the maker apart and your pom-pom is complete! Leave the long string attached to sew or tie in the next step.
Step 7: I braided three pieces of yarn together and then sewed each pom-pom to that braid. As you can see in the photo above, I strung 3 pom-poms on each “side” of the tassel. Then I simply wrapped it around a handle of the bag. You can tie them if you want to. I pinned the pom-poms to the braid before I sewed them on just to make sure I liked the spacing.
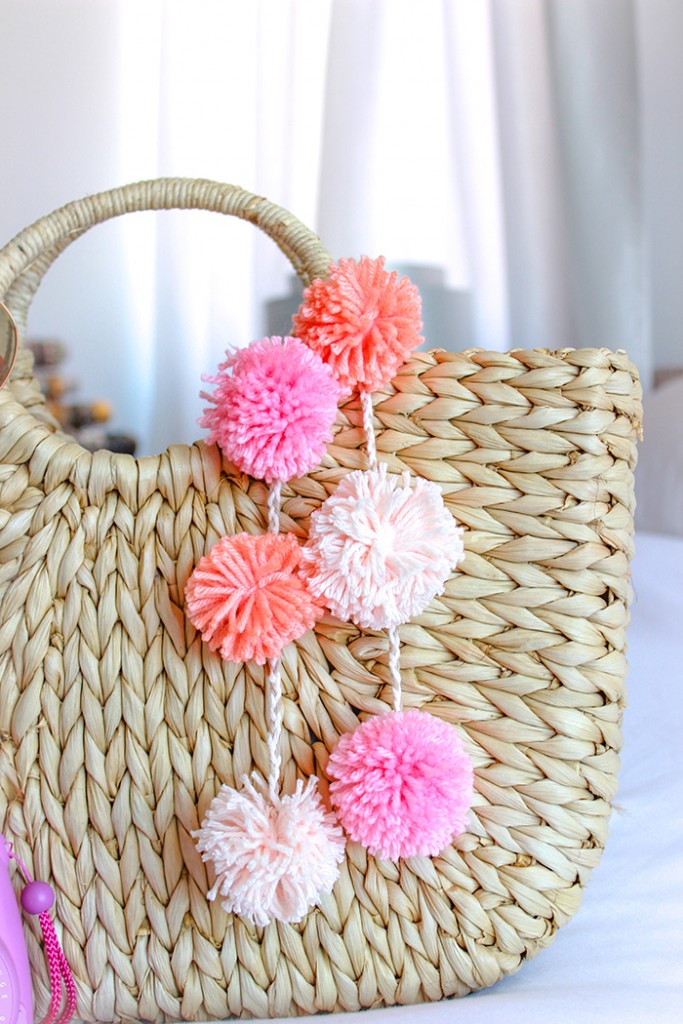
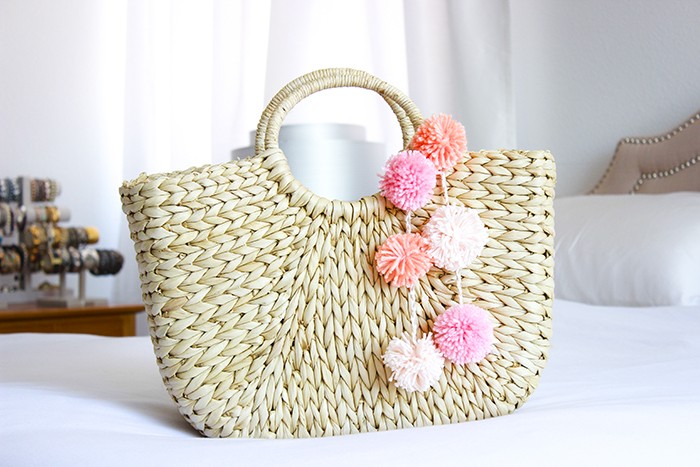
There you have it. Your very own pom-pom tote. Now have fun at the craft store picking out all the colors for your very own pom-pom bag!
For any of you who are not feeling the DIY love. Not to worry. I had so much fun making my tassel that I made an EXTRA one that I am giving away to one of you! All you have to do is follow me on Instagram, like this photo, tag a friend in the comments and you’ll be entered to win this pom-pom tassel! (Not the tote FYI.) I’ll choose a winner in one week on July 9th an announce the name on July 9th!
Check out my round-up of my favorite straw totes and other DIY tutorials:
Follow me on Twitter, Instagram, Pinterest, YouTube and Bloglovin’ for more DIY projects!


