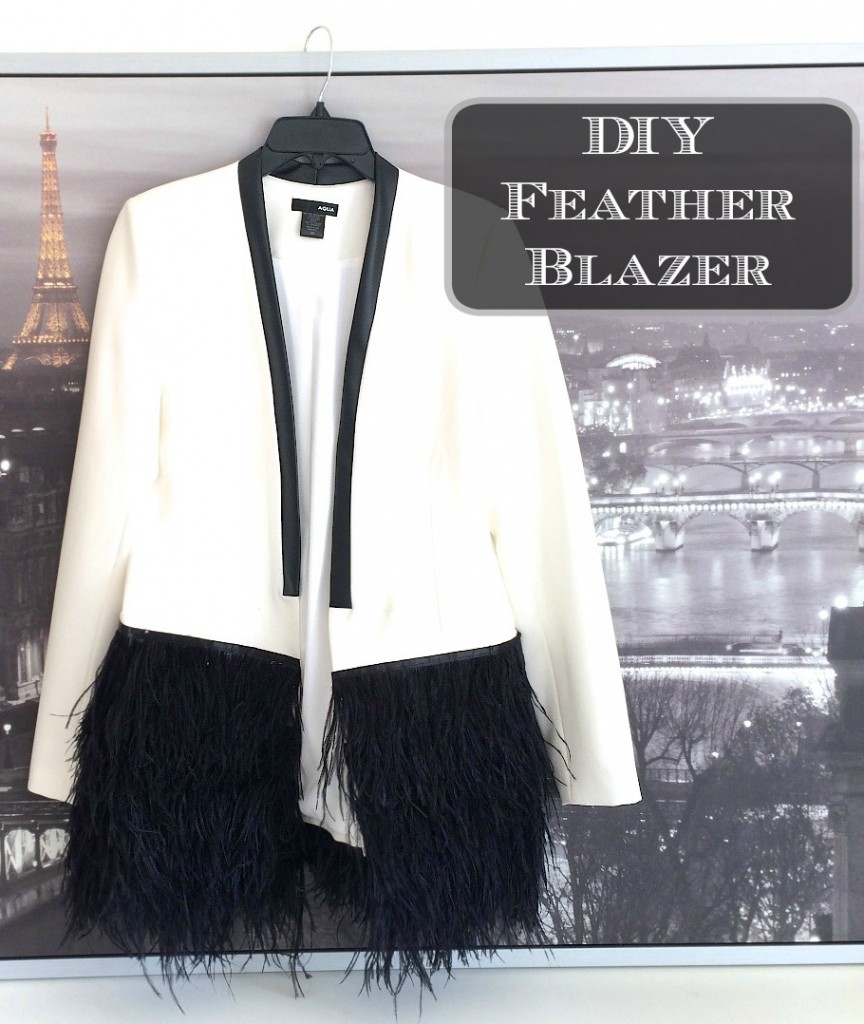
DIY FEATHER BLAZER TUTORIAL
Ostrich feather detailing is one of my favorite textures on a piece of clothing, an accessory, or even home decor. I’ve been in love with feather blazers for a while, but with the $500+ price tag it’s not an item I’ll be splurging on anytime soon. Especially since I’ve got my eye on a particular pair of red soles 😉 So after a successful attempt with a certain DIY feather skirt last year, I decided to give a DIY feather blazer a try. I am pleased to announce it came out very well! Here’s how you can make your own DIY feather blazer…
Skill Level: Medium
Time: 1-2 hours
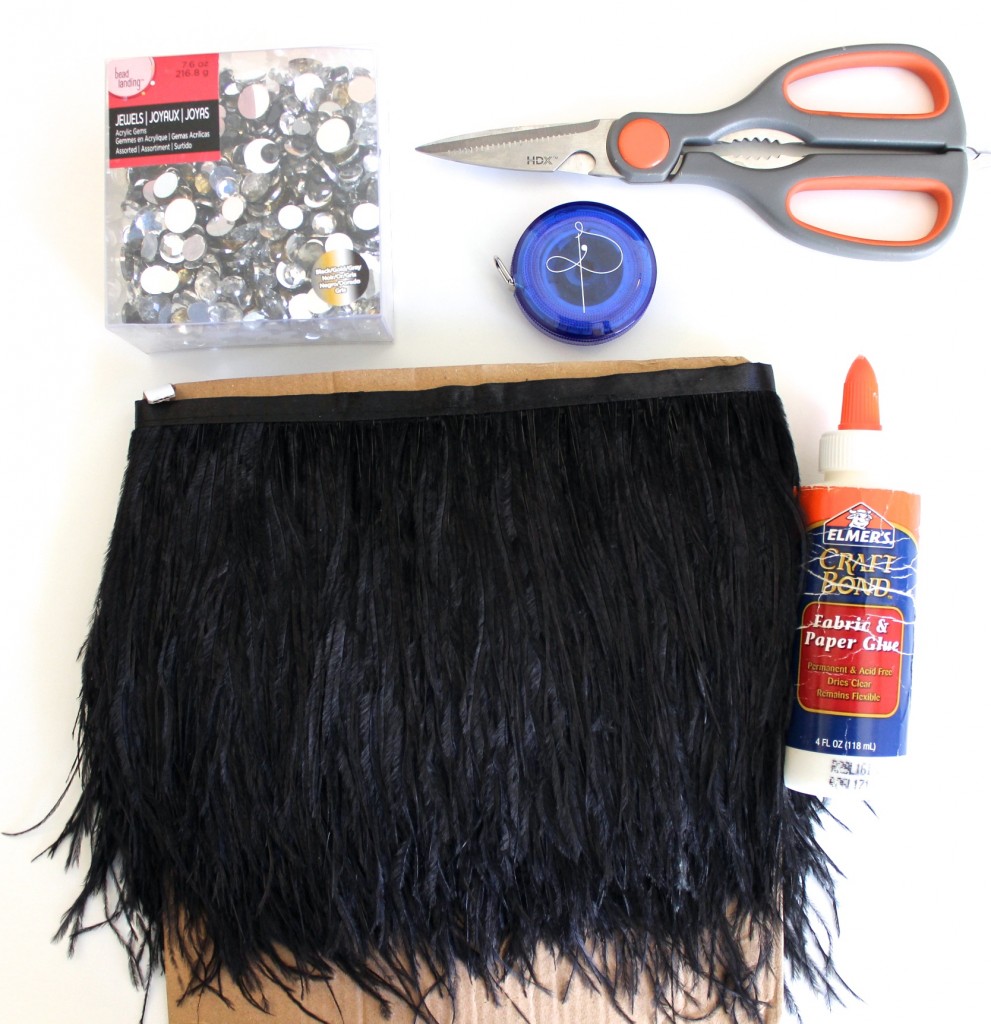
Materials for your feather blazer:
- feathers (10 yards of black ostrich 4-6inch length feathers on Ebay for $56)
- blazer (this longer length blazer was $40 on sale at Bloomingdale’s)
- scissors
- fabric glue $5
- measuring tape
- beads (optional-to embellished the finished lining- $8 at Michaels Craft Store)
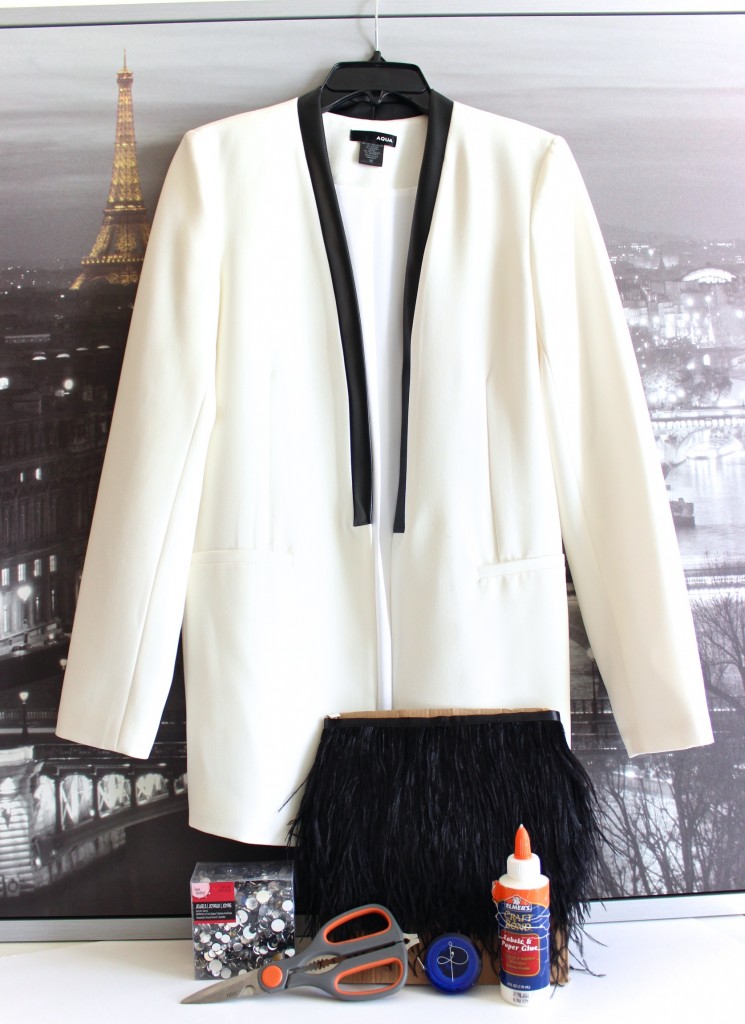
Step 1: Gather your materials and play around with where you want your feathers to start on the coat. Start from the BOTTOM and work your way UP. This makes it easier to deal with the feathers and gives the finished product a nice tiered effect.
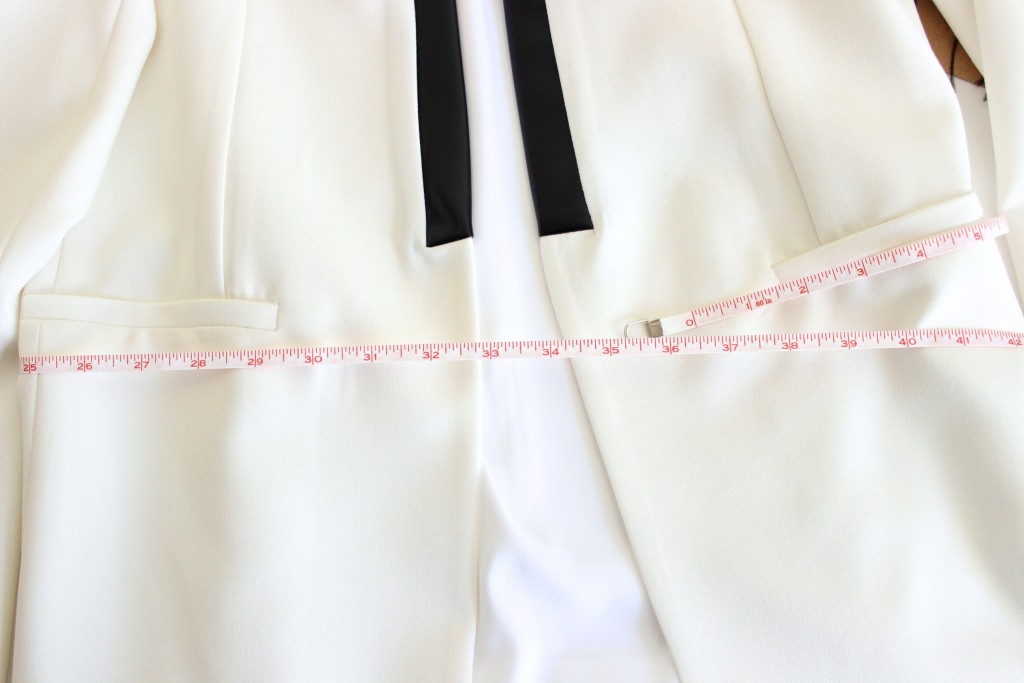
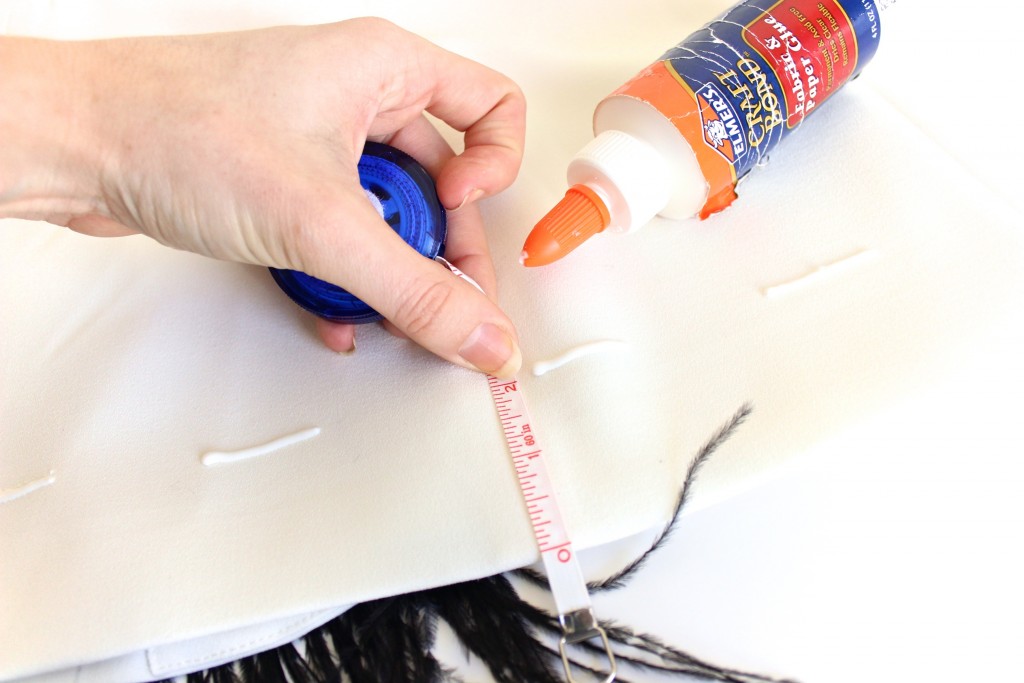
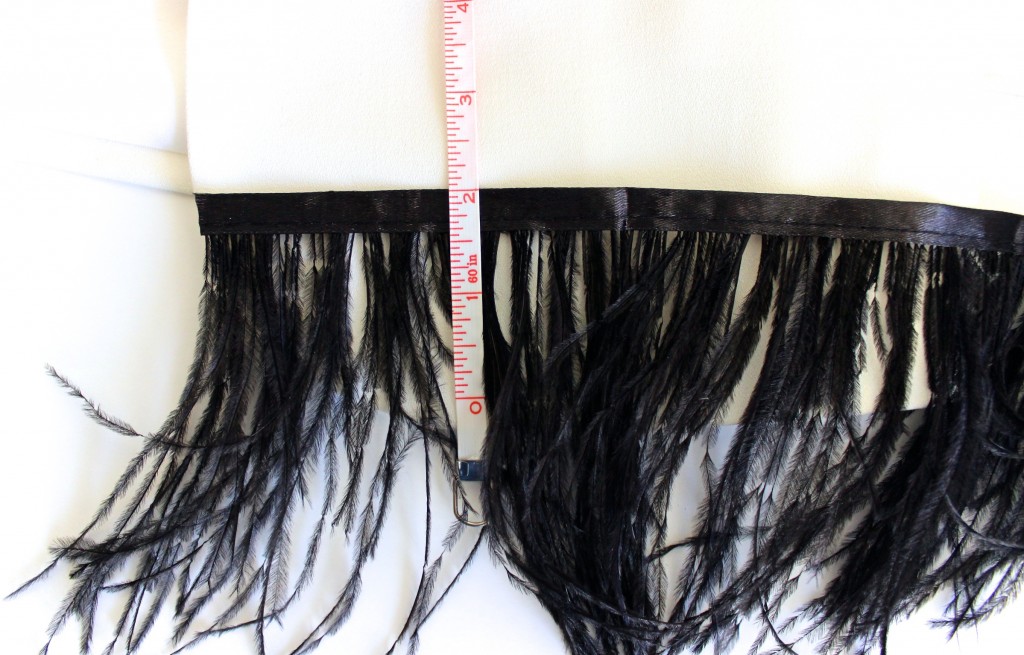
Step 2: Carefully measure and begin gluing a line on the blazer. Use the measuring tape to make sure that the first row is exactly 2 inches from the bottom of the blazer and each line of glue is directly two inches from the last row.

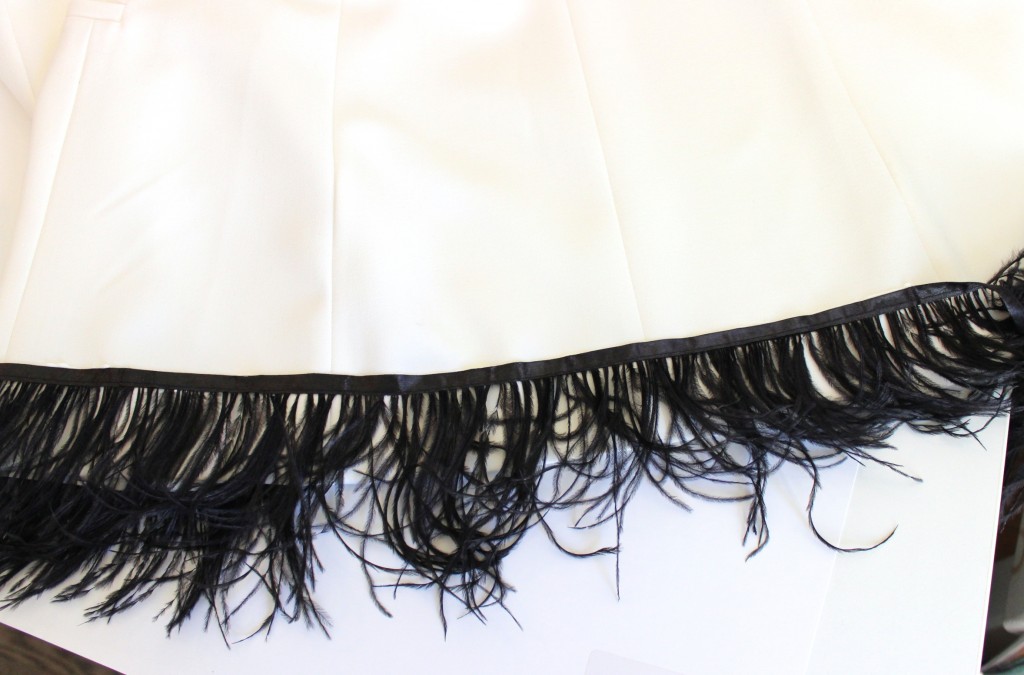
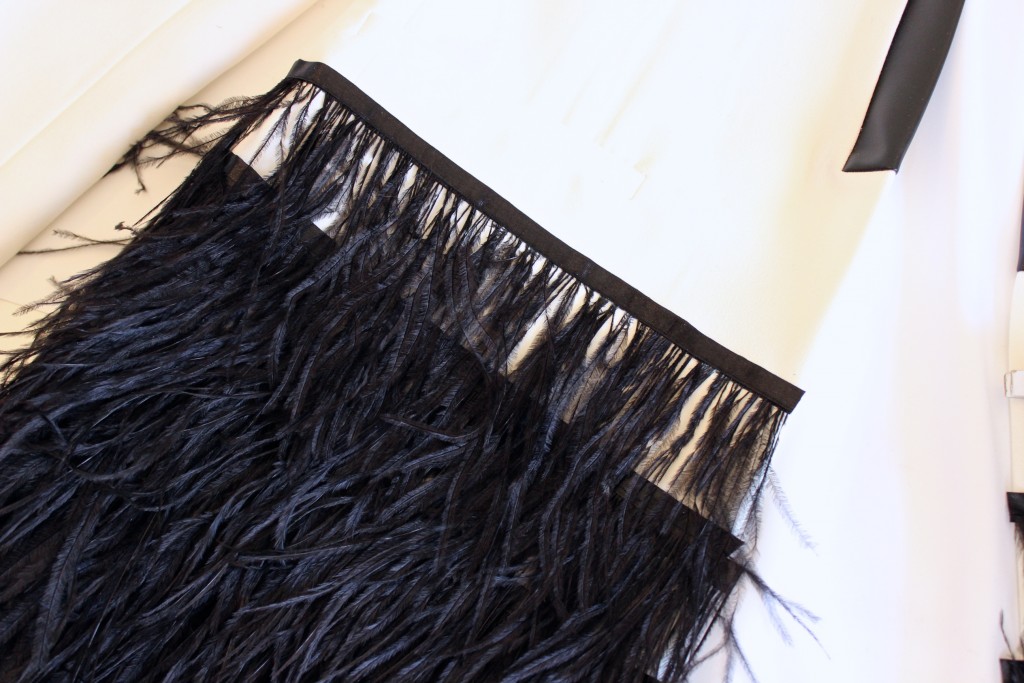
Step 3: Carefully place the first row of feathers down. Remove any excess glue. Lay a heavy magazine on top of the feathers to help the glue adhere to the fabric. Be careful to make sure the feathers are all facing the same way.
Step 4: Continue measuring, gluing, and laying down rows of feathers. Pay attention to how thick or thin you want your feather detailing. I did not want to have any of the white blazer show under the feathers and placed an extra row right above the last feather line. (see photo below)
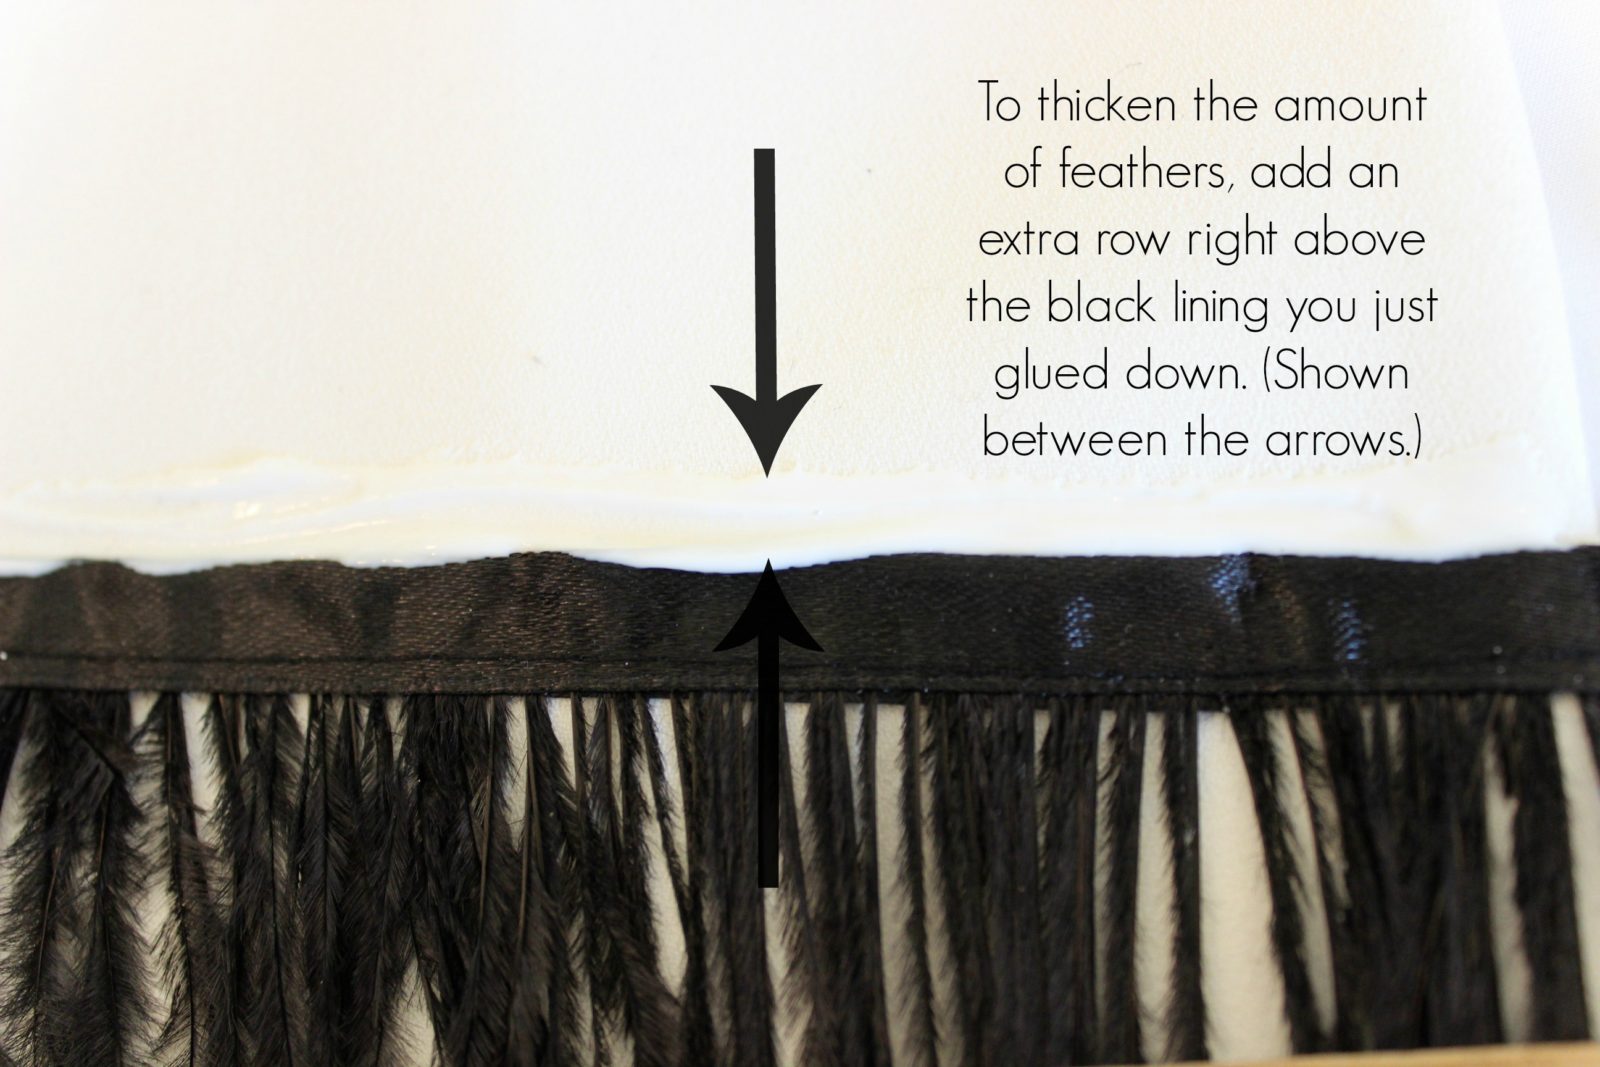
In the photo below, notice the difference in thickness between one row of feathers, versus two rows on top of each other.
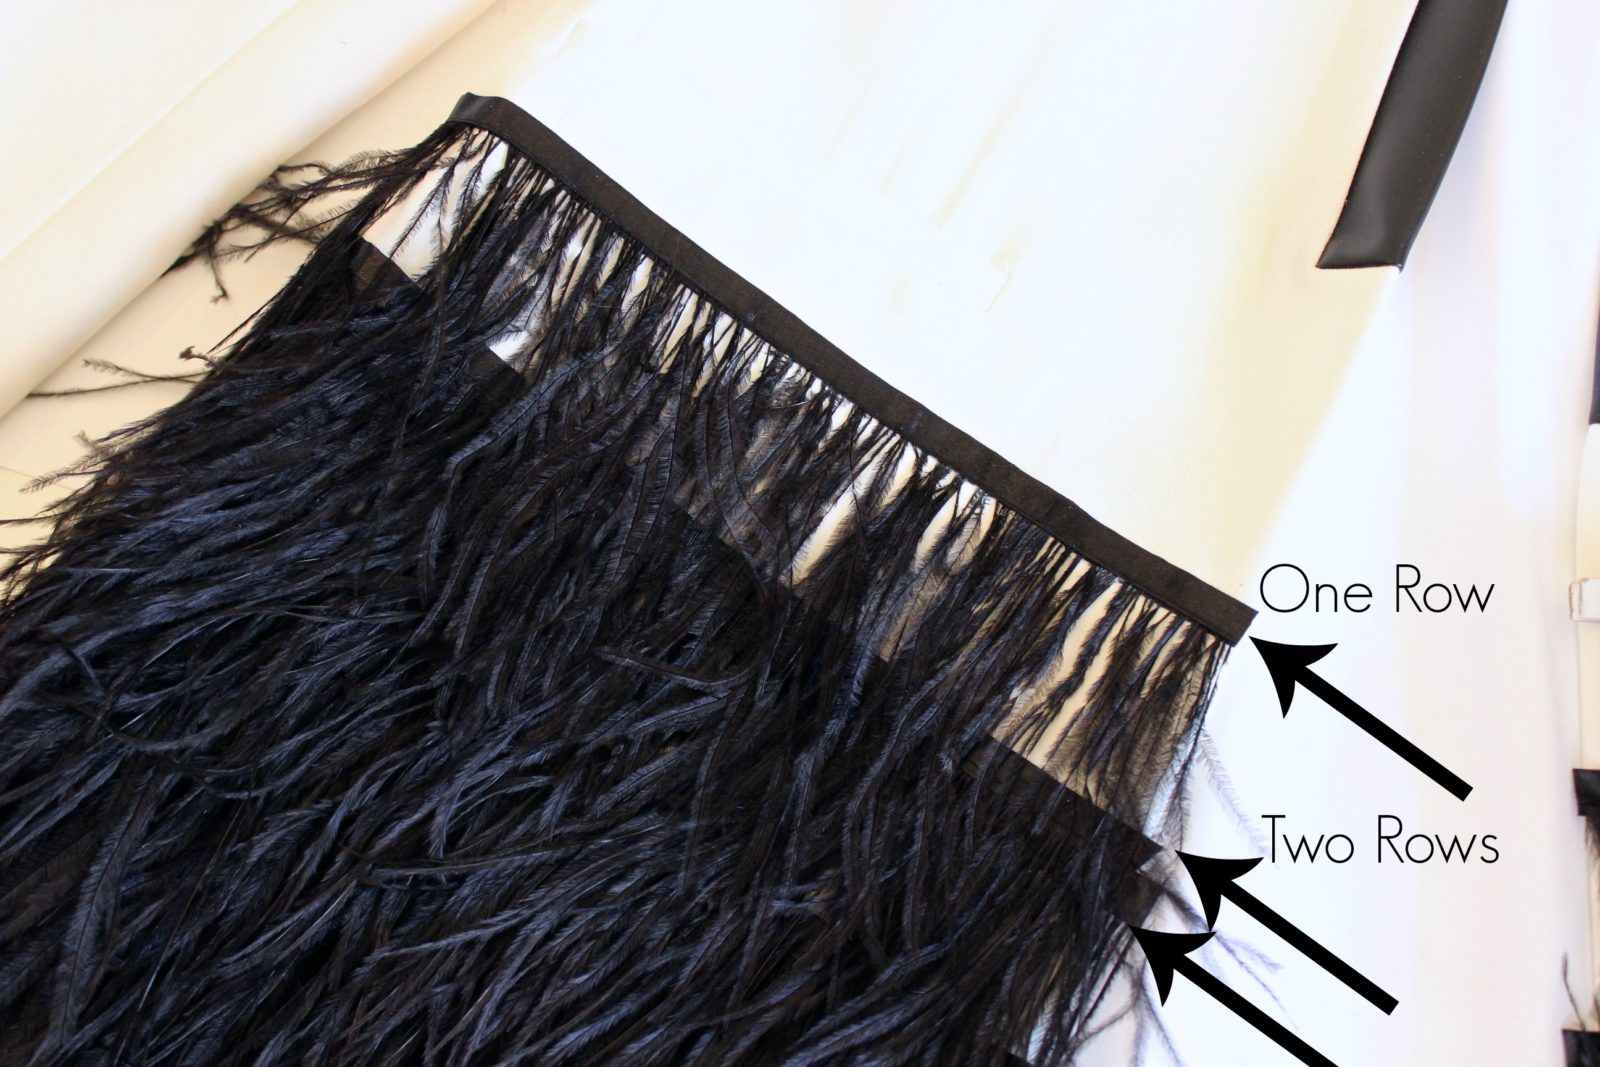
After every two strips of feathers, measure up 2 inches, lay down the next line of glue, and another row of feathers. Repeat until satisfied.
Step 6: Allow to dry for a few hours. Lay blazer flat. If hung, the strands of feathers may slide down before the glue can dry. Placed heavy books/magazines on top of the strands to help the glue adhere to the fabric.
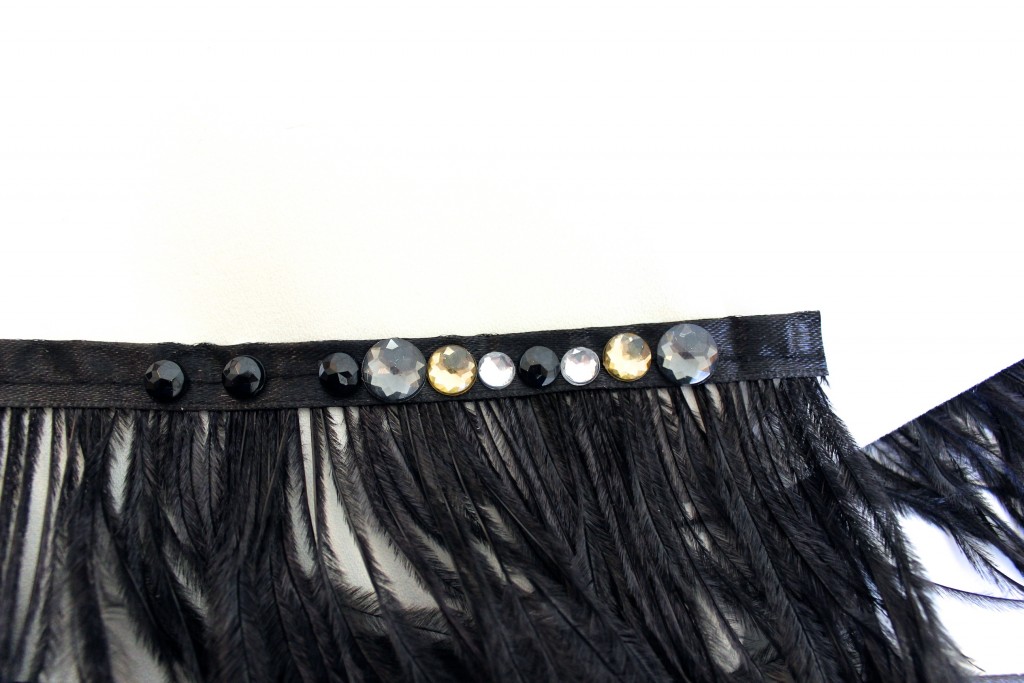
Step 7 is optional: If desired, glue a row of jewels to the last strand of feathers. This will take extra time to apply and let dry. I liked the jacket as is and decided to forgo the extra embellished detailing.
Here is the finished DIY feather blazer…
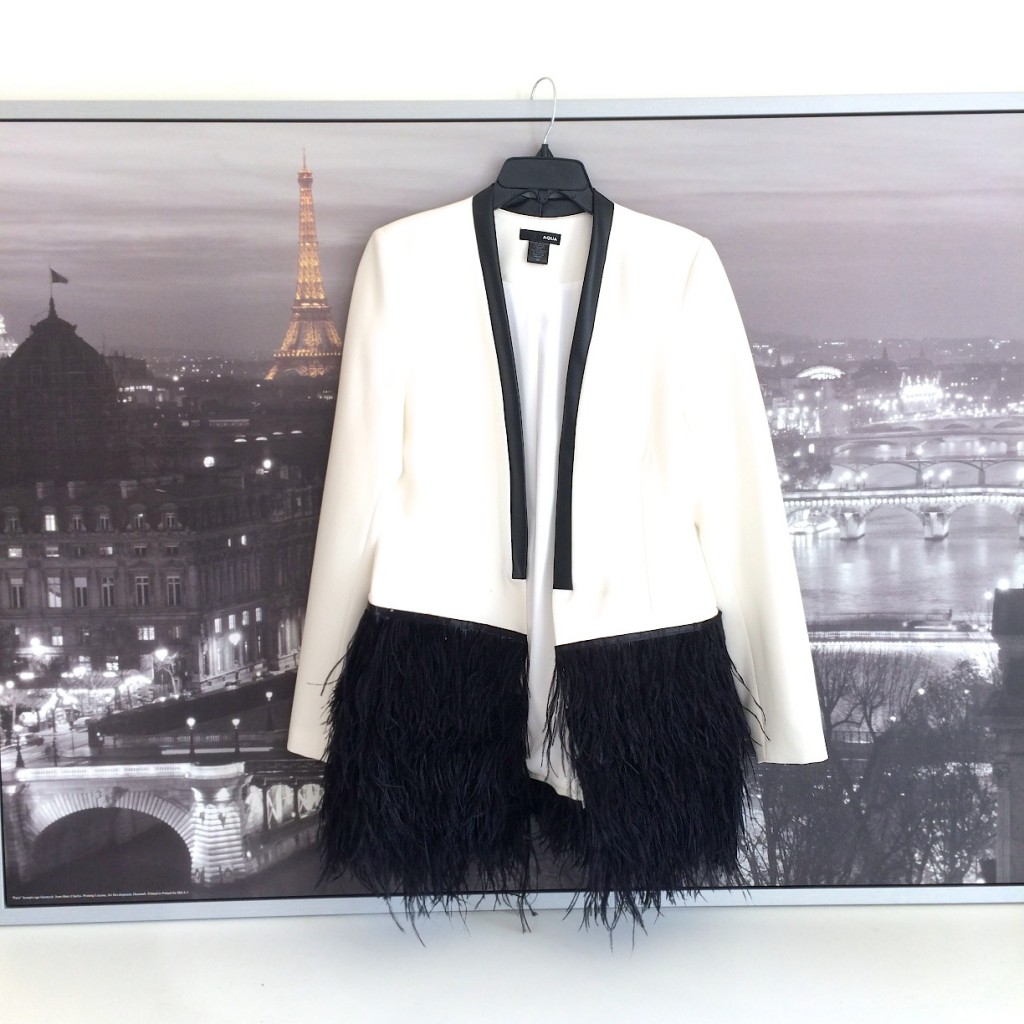
Full feather blazer outfit post coming soon! Until then, here are a few extra Tips:
- Have some tissues handy- the glue can get on your fingers and stick to the everything.
- Measure your jacket and how many rows of feathers you want to add before ordering feathers.
- Do not cut your length of feather ribbon until you have carefully measured the jacket. Not every row will be the same length!

My inspiration for this project…Elizabeth + James, Wendy’s Lookbook & Milly by Michelle
Questions? Leave a comment below and thank you for reading! Have a great weekend everyone and congrats to Melanie M. for winning the Birthday Giveaway!
xoxo,
Laura
Follow me on Twitter, Instagram, Pinterest, YouTube and Bloglovin’ for more DIY tutorials.


2 Comments